 |
|
 Главная
- Анатомия ножа
- Ножны
- Мастерская
- Материалы
 Процесс изготовления
- Заточка
- Темляк
- Ковка
- Дамасская сталь
- Булат
- Мокуме Гане
- Ювелирное дело
- Травление
- Химия
- Ножевой бой
- Ножевые интернет ресурсы
- Онлайн магазины
- Чертежи
- Книги
- Делаем первый нож
- Национальные ножи
- История ХО
- Нож. Общая информация.
- Knifehelp благодарит
- Последние обновления

Процесс изготовления ножен от AOS взято с jerzeedevil.com
Some pictures of the sheath making process 
I still haven't finished it, so it will be more!
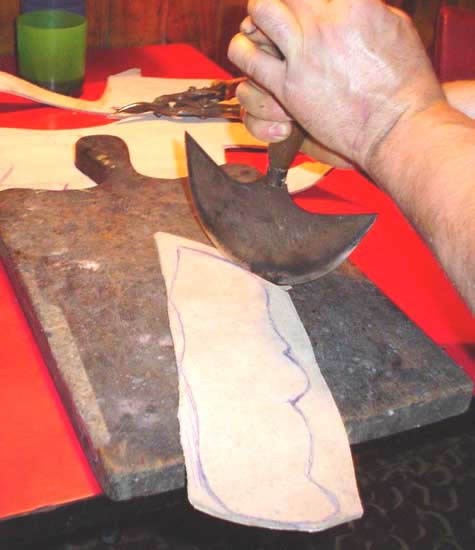
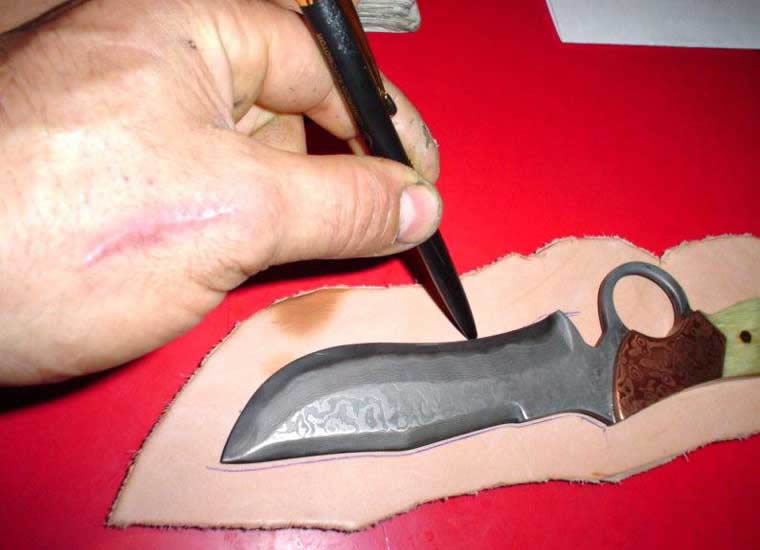
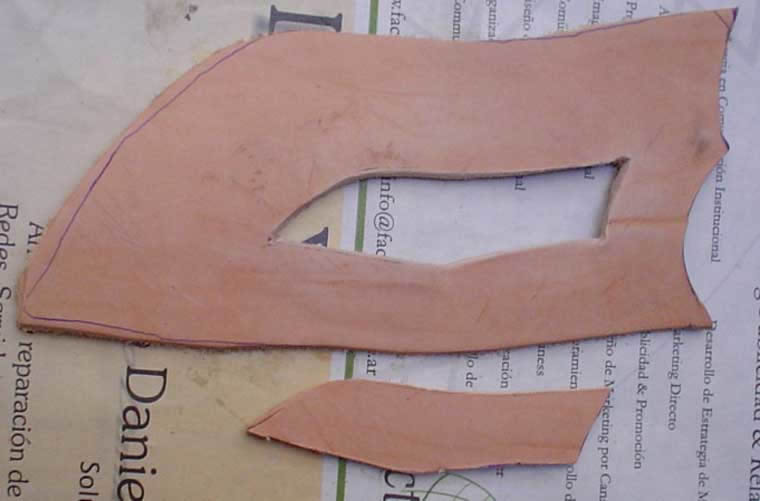
Drawing the contour to cut the leather.
Cutting the leather.
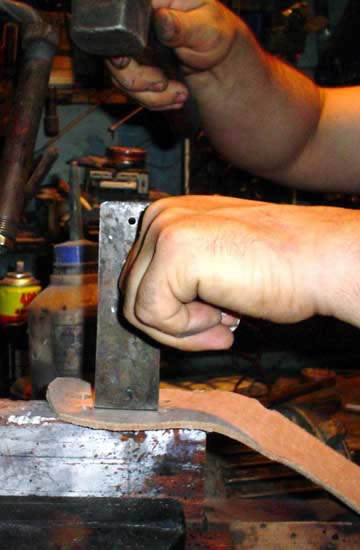
Punching the holes for the belt loop.

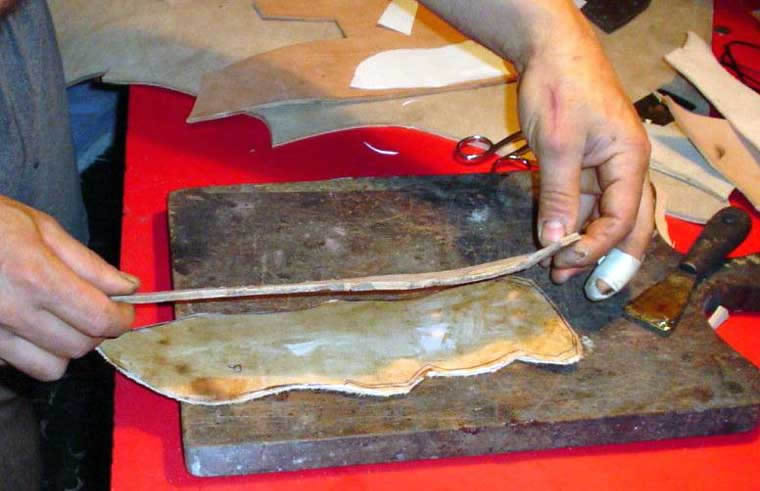
Cutting the leather for the belt loop.
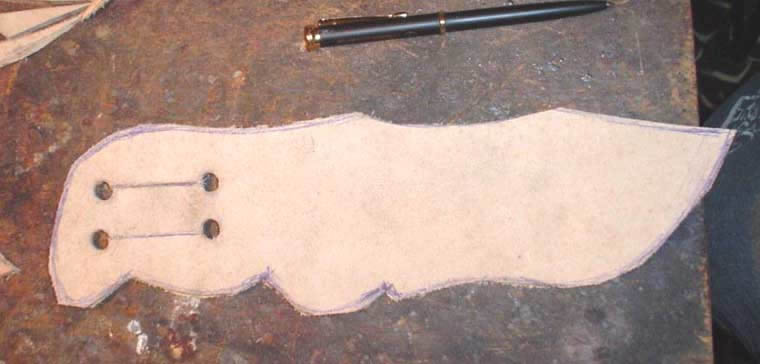
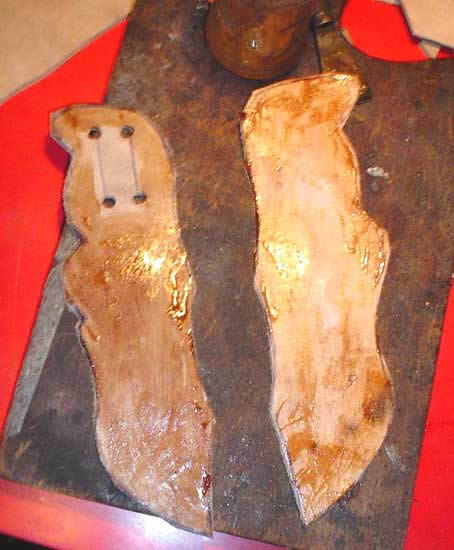
Backside already cutted and punched for the belt.
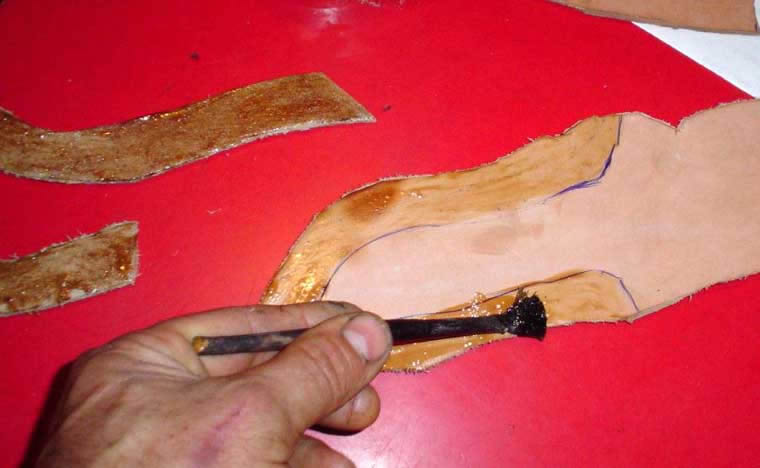
Glueing other layer of leather for extra thickness.
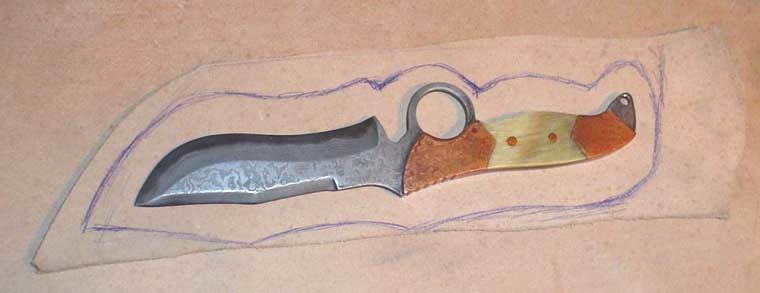
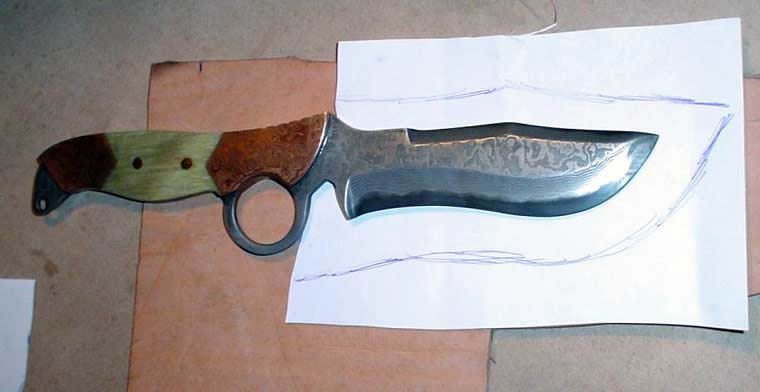
Drawing the shape of the blade for the front side of the sheath on paper to pass it later into leather.
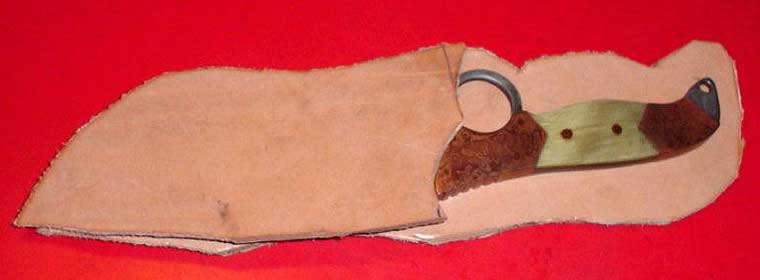
Presenting the paper mold into the leather to cut the blank.

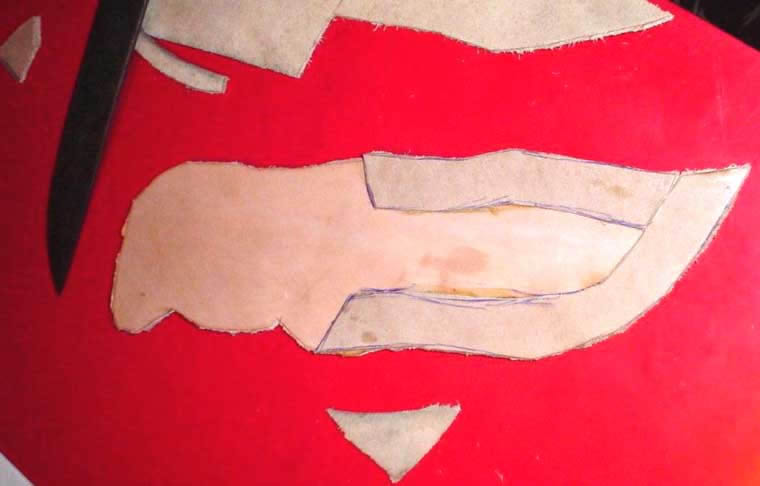
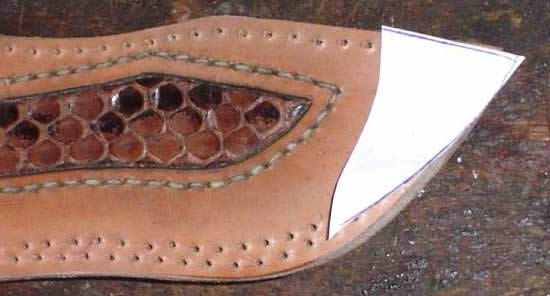
Front side of the sheath already cutted and presented over the backside.
Drawing the exact contour of the blade on the leather to protect the stitches.
Glueing the protective parts.
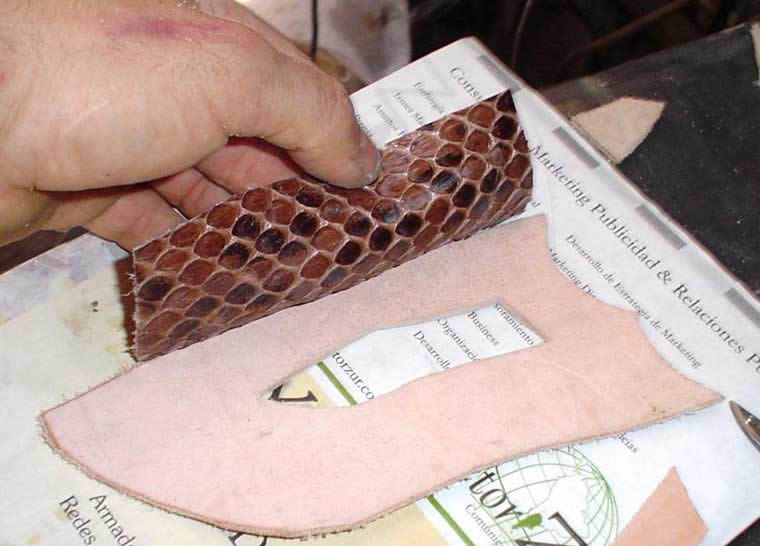
Simil blade drawing on the front side for an anaconda skin insert.

Cutting the leather for the anaconda skin insert.
Removed piece.
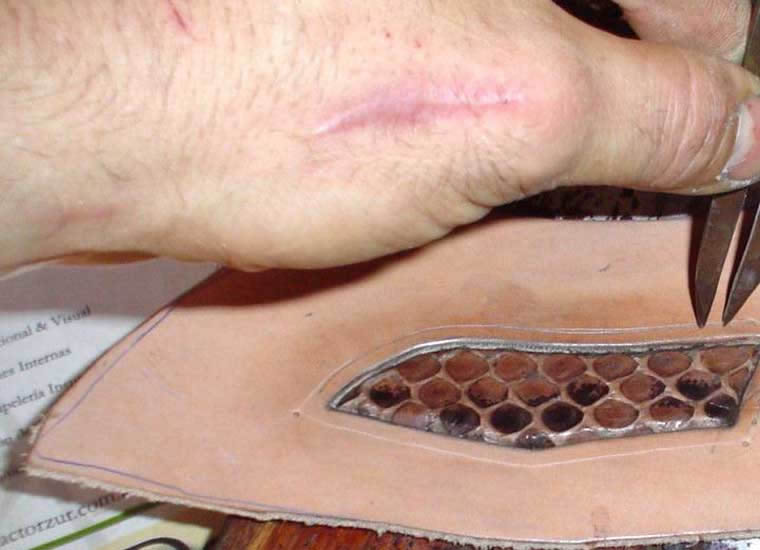
Placing the anaconda skin insert into place.

Marking the holes for the stitching.
Making the holes for the stitching.
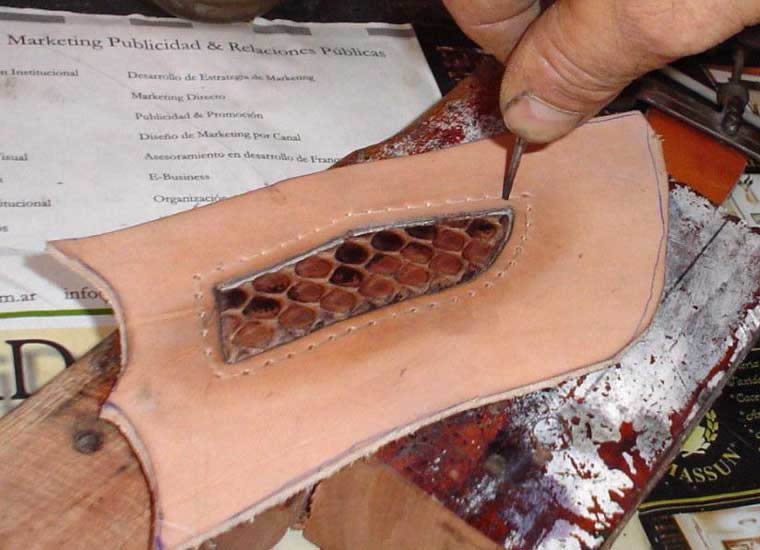
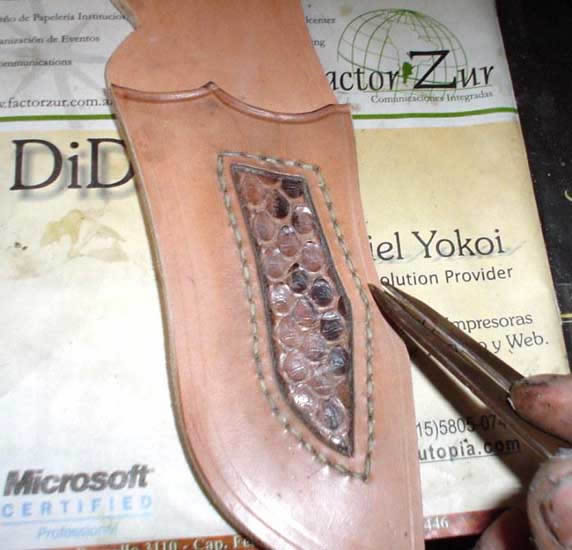
Stitching the anaconda skin to the leather.
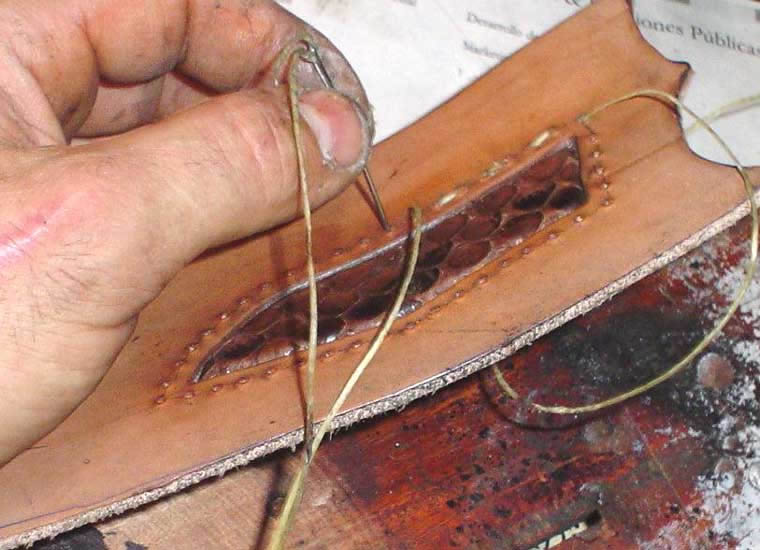
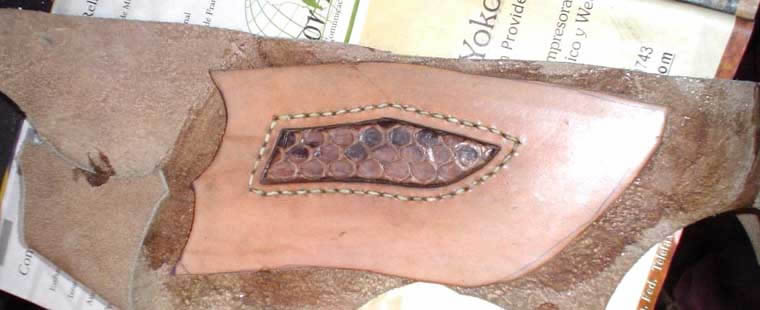
Anaconda skin stitched to the leather.
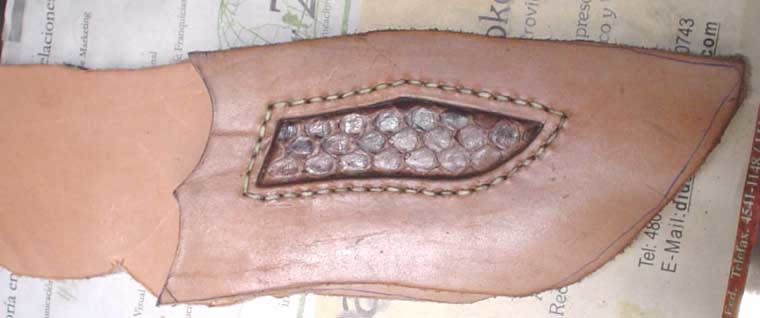
Adding another layer of leather to reinforce the sheath and protect the stitching for the Anaconda skin.
Glueing the front part.
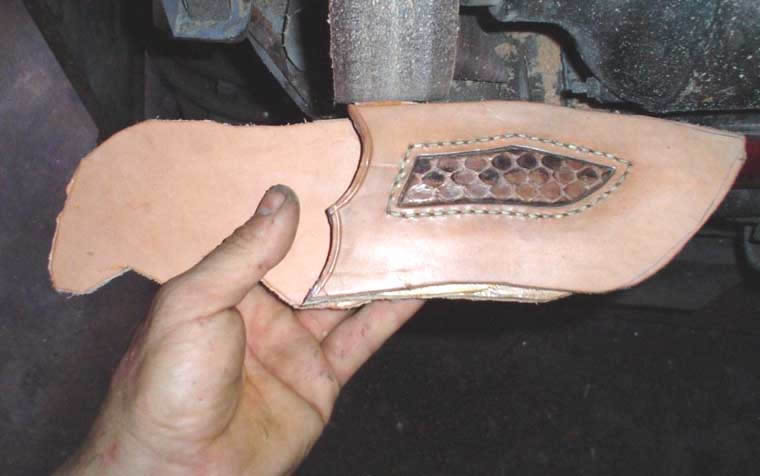
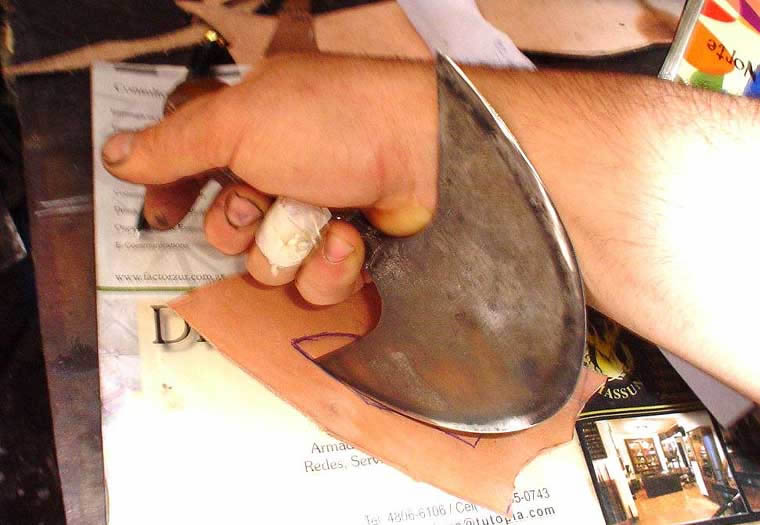
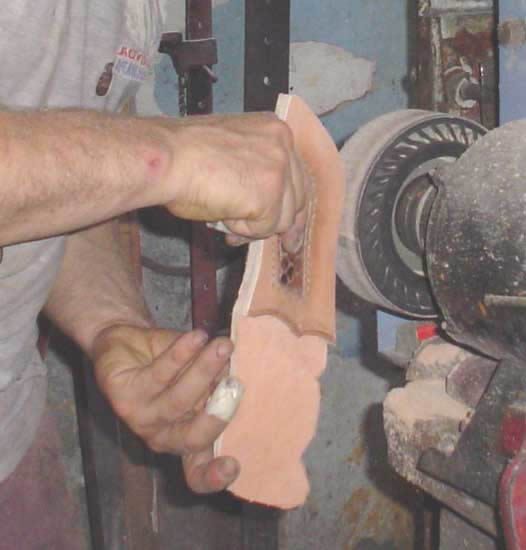
Smoothing the contour of the sheath using a belt sander.
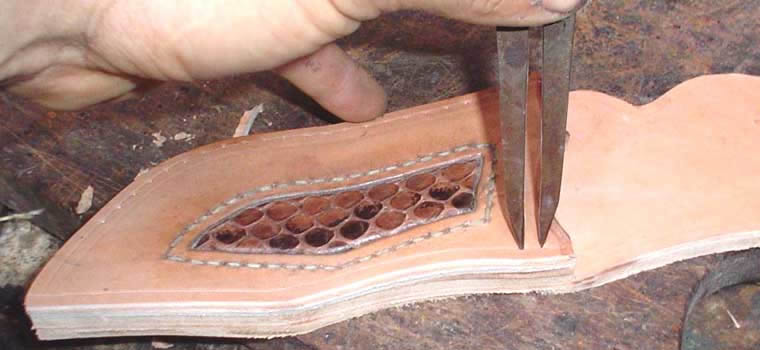
Marking exact parallel lines to the contour for a proper and even stitching.
Making the holes for the stitching.
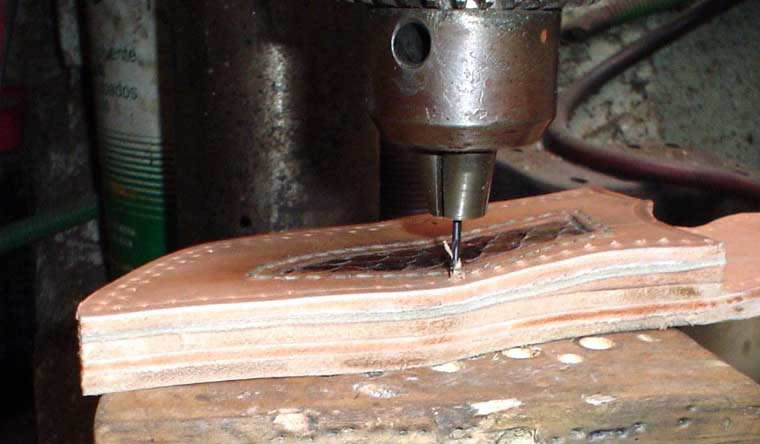
Drilling the holes for the stitching.
Paper stencil for a metallic point.
Paper stencil glued to the metal for an exact match.

Metallic point ready to be drilled for future stitching to the sheath.
Drilling the holes on the metallic point for the stitching.

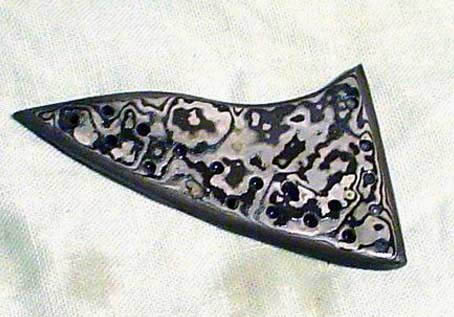
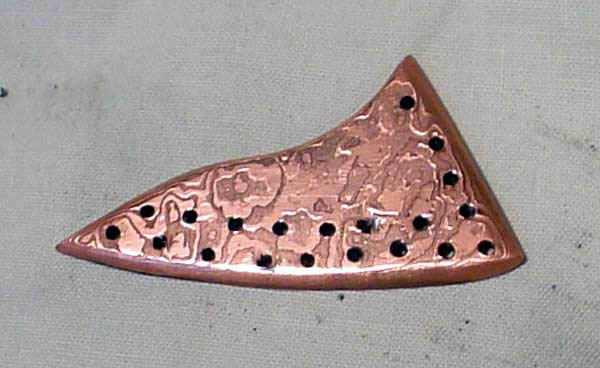
Metallic point, already drilled and etched in acid.
Taking the metallic point out of the electrolitic coppering process jar.
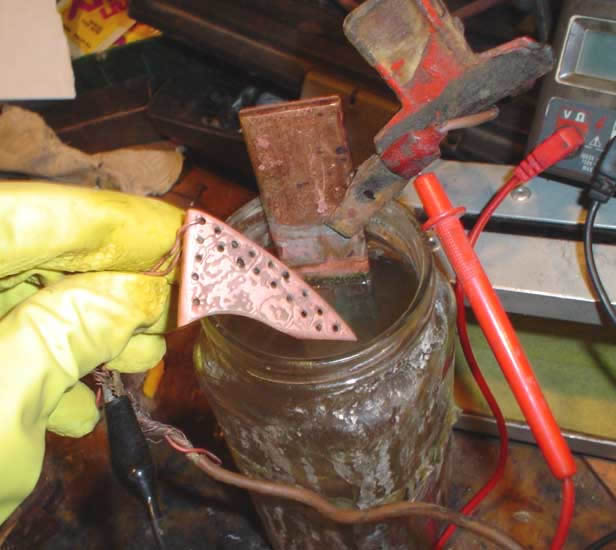
Coppered metallic point ready to be stitched to the sheath.
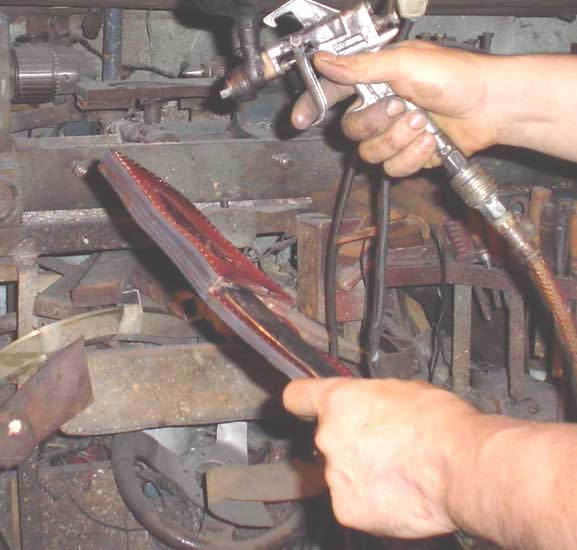
Dyeing the leather. I first dye the sheath with a brown base and then I use an aerograph to dye the borders and the back.
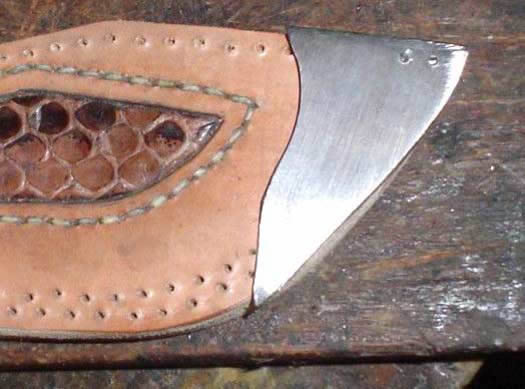
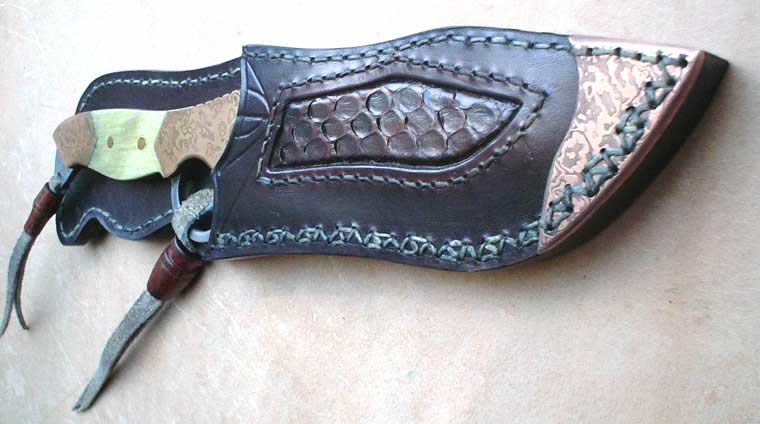
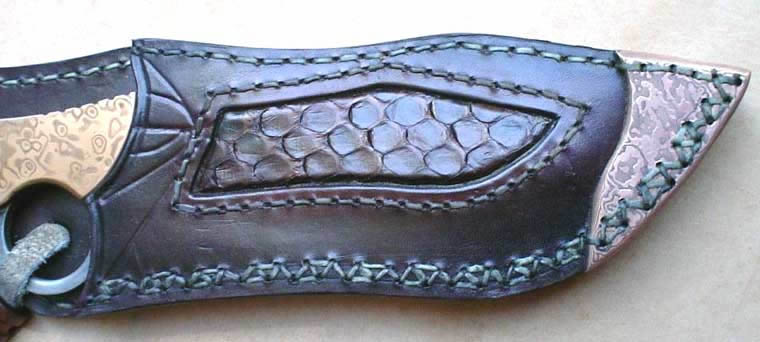
Almost finished sheath, already dyed and with the metallic point stitched.

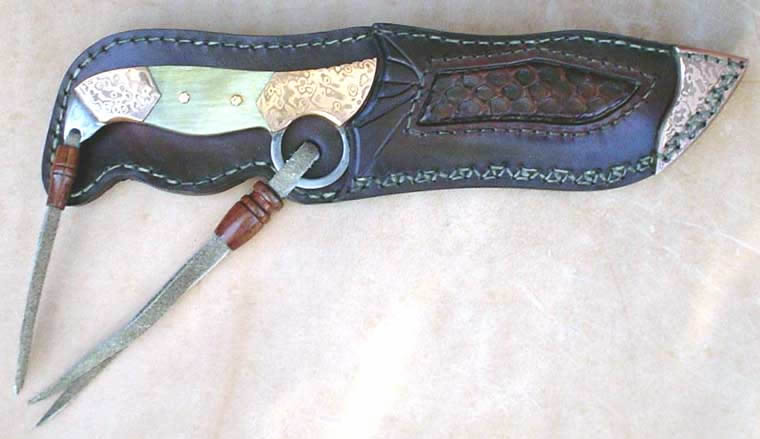
Finished sheath.
Bigger picture:
http://www.aescustomknives.com.ar/im...h39_bigger.jpg

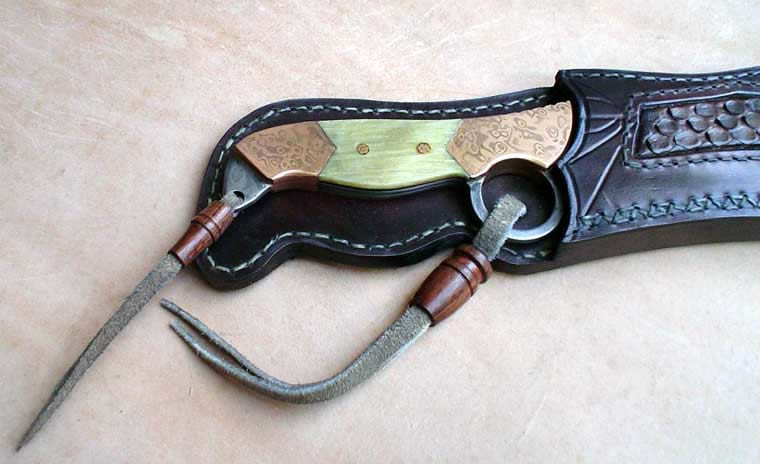
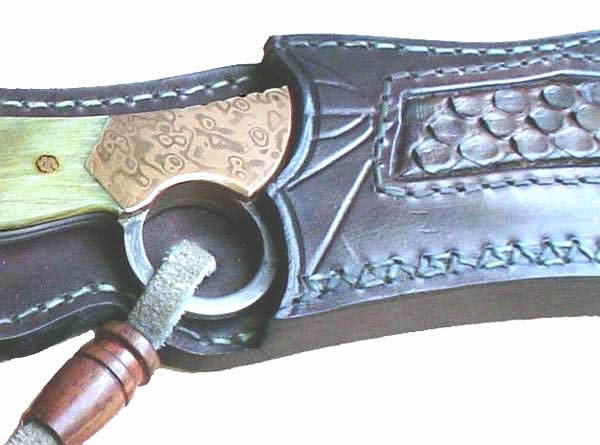
Detail of the method to secure the knife in place for secure storage.
The pieces that hold the leather together are tooled and dyed rosewood (You wouldn't think I was going to use a crappy wood for it, didn't you? ![]() )
)
Let me know what you think!
Regards,